
Unlock the efficiency of grading Google Forms effortlessly with this step-by-step guide. Say goodbye to the manual hustle of checking each response individually.
In this quick guide, we’ll show you how to set the right answers effortlessly. Say goodbye to grading stress and hello to easy quizzes. Let’s get started!”
.jpg)
Open Google Forms and create a new document.
.jpg)
Now, give a title to your form, and write the description. Add fields to collect basic details of the responder ( say name and roll no).
Now add questions for which you want to set the correct answers. For example, take one multiple-choice question and one question of short answer type.
Go to the settings, at the top of your form and select ‘Make this a quiz’. After selecting this you will get more options under it to customize your form. .png) Now slide down to the ‘Responses’ option and turn on ‘Limit to 1 response’. (optional)
Now slide down to the ‘Responses’ option and turn on ‘Limit to 1 response’. (optional) .jpg)
.png)
Again go down and to the ‘Presentation’ section select ‘Show progress bar’ this will help show how far one has come in the form (In case the form has multiple sections). However, you can change the settings as per your need.
Go back to the Questions section, now should get an option as ‘Answer key’ under the question. Click on ‘Answer Key’ select the correct answer and assign points to the question. You can add multiple correct options for both mcq and short answer types.
.png)
click on the Answer key icon
.png)
select the correct answer
.png)
.png)
If you want to give some feedback for correct or/incorrect answers, click on the ‘add answer feedback’ icon and write down your feedback. Once you have completed this, click on ‘Done’.
.png)
Click on the preview button on the top of the form to view the form you have created, and use the send button to send this form to others. Now you have successfully created a Google form with correct answers set on it.
Wait for people to answer the questions on your form, you can check responses by clicking on the ”Responses’ icon. click on “Link to sheet” to view the responses on an Excel sheet. .png)
.png)
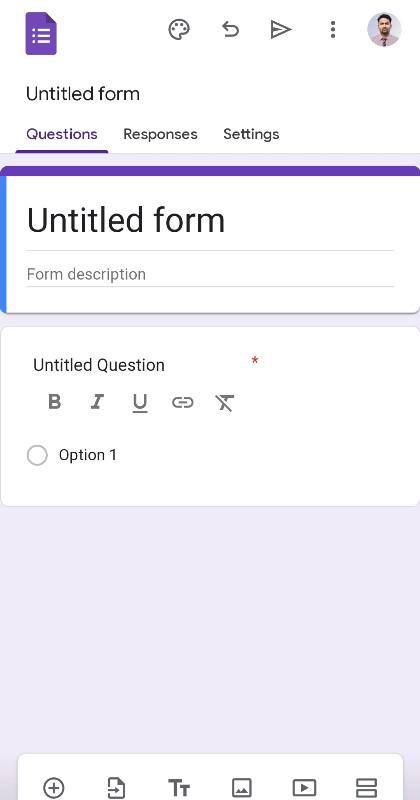
On your Android or iOS device open any web browser with a Google account signed in and, go to forms.google.com. In mobile, as you enter the website a new blank form gets created for you.

Add the form title, description, and questions of your choice as per your requirement in the Google Form. For this time let’s take one multiple-choice question and a descriptive answer type question. You can select any type of question and as many as you want the process will be the same.

After you finish adding all your questions, head over to the settings button at the top of the form. In settings click on “Make this a quiz”. you can explore other options available to customize your form.
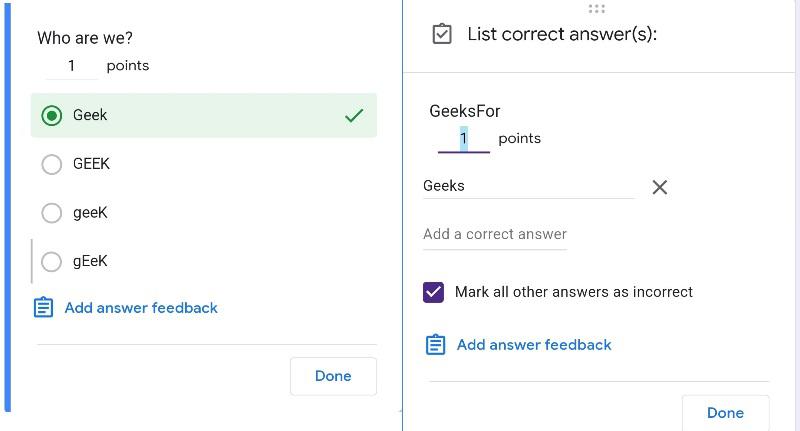
Go back to the questions section and click on the answer key button under the questions. 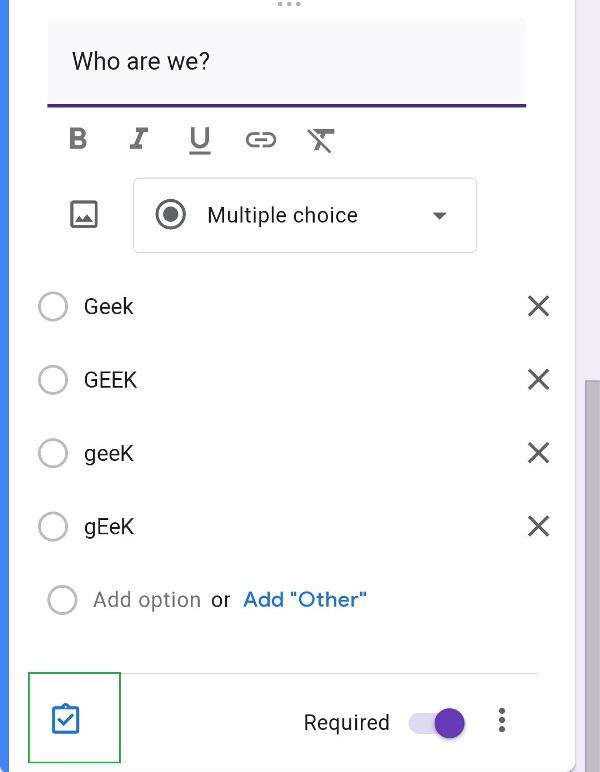 Now, set the correct answers for all your questions by clicking on the answer key button on each question. Also, set the maximum point for each question.
Click on the three dots on the top right corner of the website then click on the preview button to view the form you have created, and use the send button to send this form to others.

click on the selected area

click on preview
You can wait for others to give the responses on your form, otherwise, you can also fill out the preview form and check the response to check correctness.
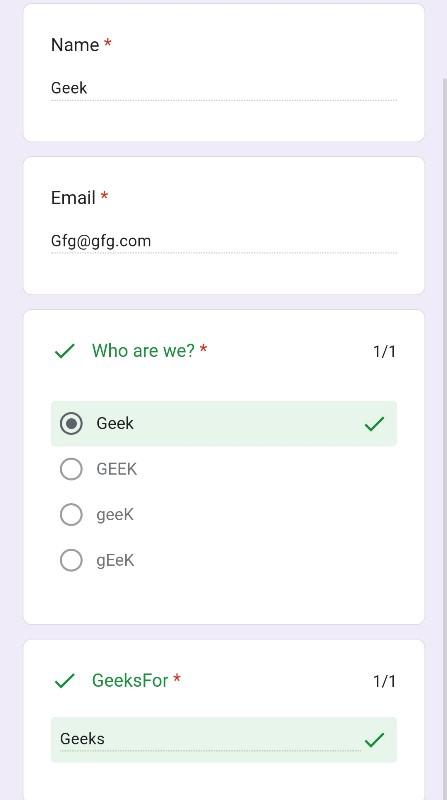
User’s view after submission
Go to the response tab and select the spreadsheet icon available to link a Google sheet to your form for an effective response check. 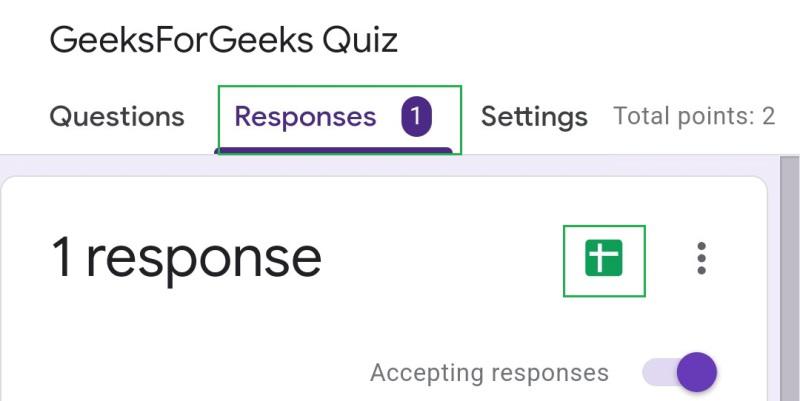 Wait for the spreadsheet to be opened and check the response made so far. Now you have successfully created a Google form with correct answers set on your mobile device (Android or iOS).
After following these above-mentioned steps you will be able to successfully create google forms with correct answers set on it. The process to set correct answers on Google Forms will be the same for both Computer and Mobile devices as there is still no application available for Forms by Google. Open Chrome or any other web browser on your device with a Google account signed in and access forms.google.com. and steps in this article will guide you on setting the correct answers in your Google form.
While adding your questions into Google Form you can only format your questions. There is no option available to format the answers during creation and while answering. You can use formatting options to format other texts on your Google Form.
You cannot correct a response in Google Forms but can edit your response after submition if it is enabled by the owner of the form.
If form owner has enable the option to edit response after submition then you as a user should get a option to edit your response after submission. Otherwise you can contact the form owner to edit your response in forms.
As owner of the form you can access the response sheet and make any necessary changes by editing the responses available.